
Agar tampilan dari PNETLab lebih menarik dan lebih terlihat nyata, diperlukan untuk mengupdatenya. Memang pada situs resmi untuk instalasi hanya disediakan versi 4.2.10, tapi sobat bisa mengupdate menjadi yang terbaru.
Berikut ini adalah gambaran dari versi release PNETLab
| Versi | Release Node |
| 4.2.10 | Add feature allow to config Eth1, Eth2, Eth3, Defaut Route, DNS for Docker Disable SSL in mysql server to fix bug “File_get_contents” Disable Periodic Update Packages of Ubuntu |
| 5.0.1 | Unlimited offline license Opensource all codes |
| 5.2.7 | Fix LLDP & LACP and DOT1X . Fix telnet stuck and hangs. Fix random generated mac address for nodes Add custom initial startup configuration the hostname will match name of node in GUI : for vios , viosl2 and iol (rename image bin name to l2_iol-xxxx.bin for switch l3 and l3_iol-xxxx.bin for router ) and Dynmips HTML5 console by default green-black and size font to 12 Add spice console for both (HTML5 AND native) html will work until PNETLAB will based on ubuntu 20.04+ Support more than 28 interfaces network for some devices Now PNETLAB can detect platform and put right templates to AMD or INTEL folder inside /opt/unetlab/html/templates Fix apt-update && apt-upgrade Some tweaks and fixes Added new icons Add custom Clouds: Private and Internal Extended online maximum account to 100 Support Google Cloud |
| 5.3.11 | tuning text editor in GUI topology (autofit textbox size, tune shapes ,zoom bare in bottom , font changed to orange suitable for dark and white background) . FIX HTML5 capture if nodes connected to cloud internal or private . FIX picture in lab not load . FIX some bugs related to devices templates . FIX RDP html5 console not work with windows images . FIX multi console on docker images . added rdp-tls to supported console . add custom icon for NAT cloud . suuport macos image use template macos_simple_kvm . |
Berikut ini langkah-langkah update
Langkah ke – 01
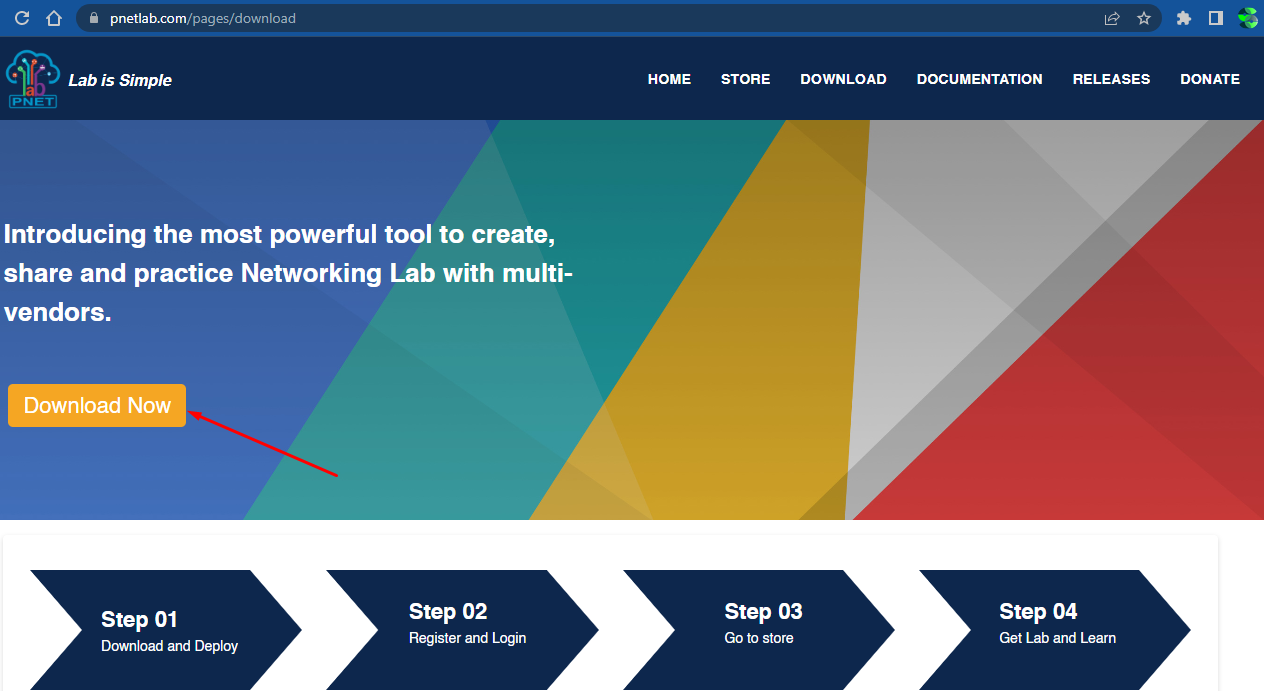
download terlebih dahulu patchnya pada situs resmi atau bisa klik disini
Langkah ke – 02
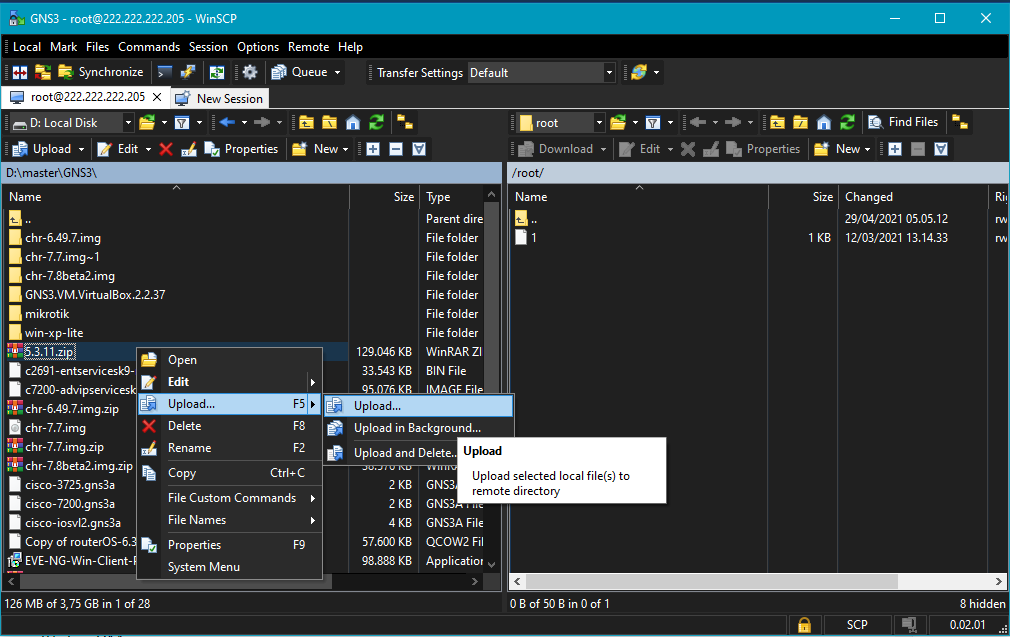
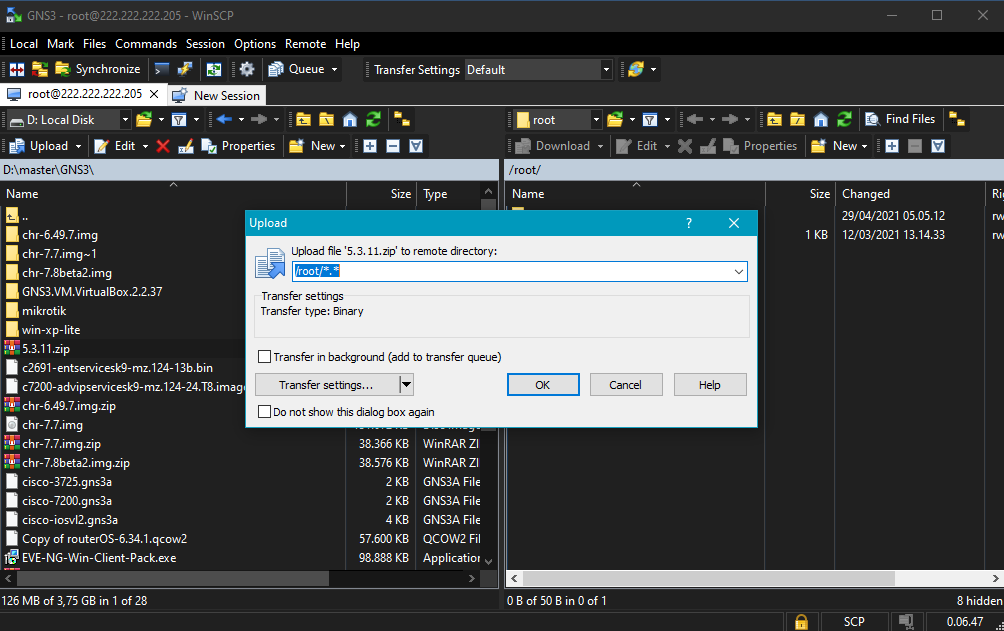
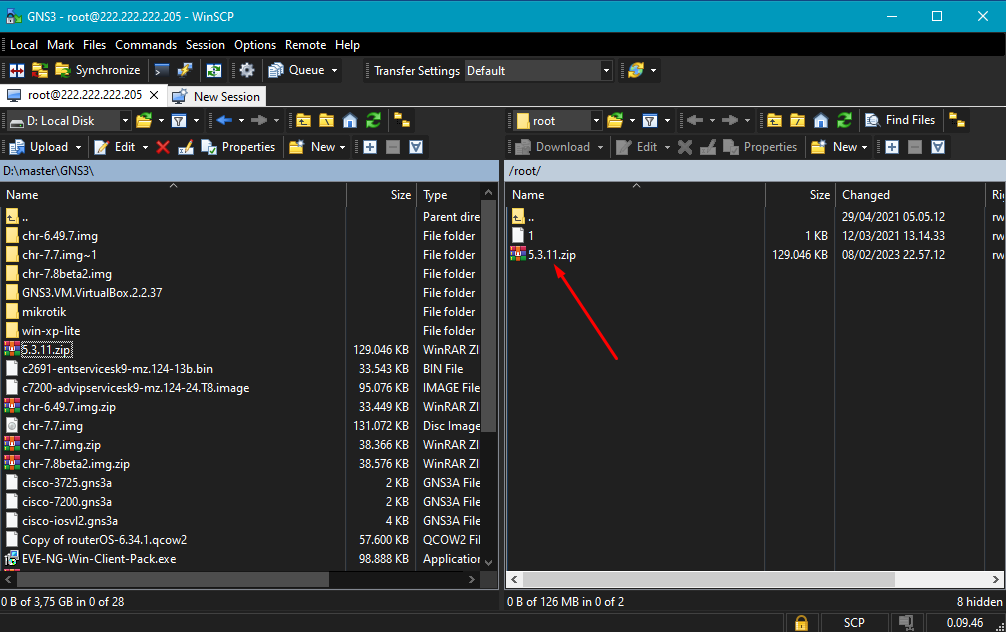
upload file yang didownload tadi ke dalam Vm PNETLab, disini saya upload menggunakan winscp agar lebih mudah
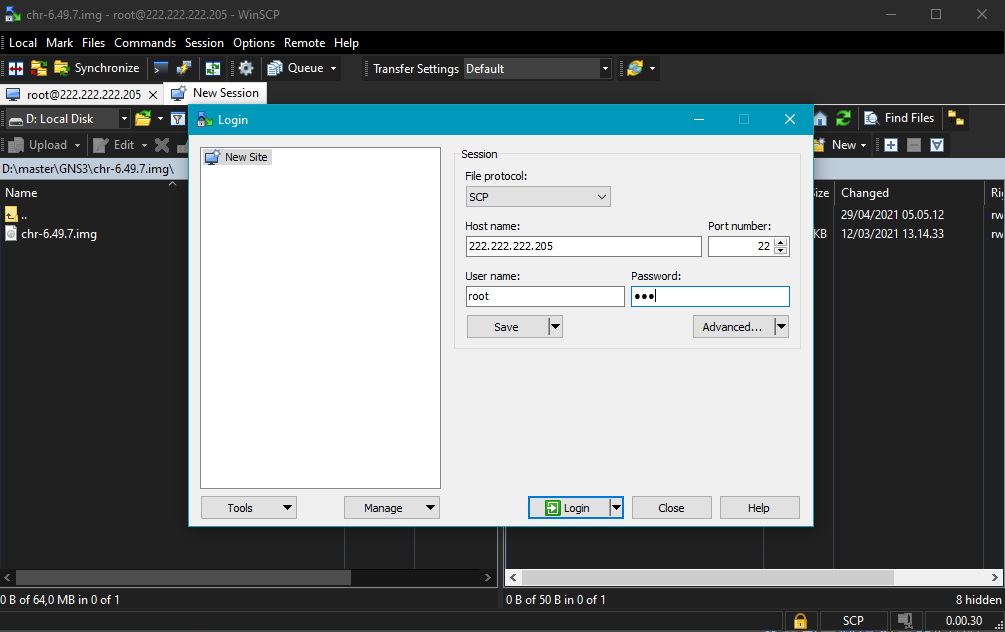
file protocol : SCP
host name : IP dari VM
port number : 22
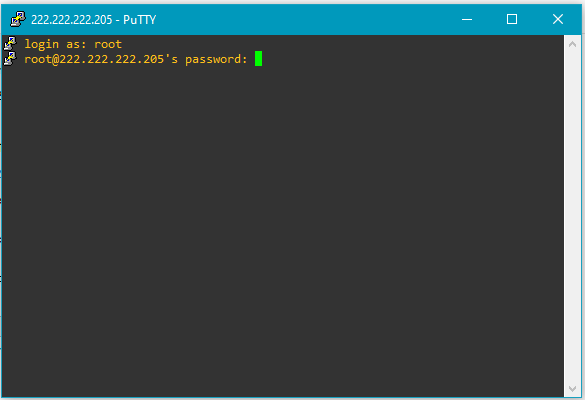
user name : root
password : yang sudah dibuat pada saat awal menjalankan VM Pnetlab
Langkah ke – 03
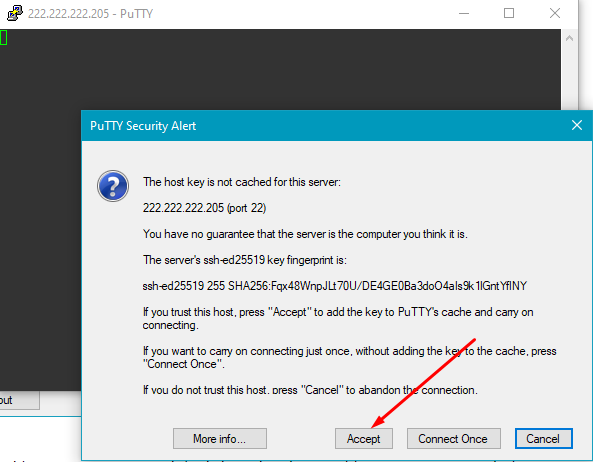
kemudian konfigurasi kedalam Sistem Operasi PNETLab emulatornya, disini saya gunakan putty untuk mempermudahnya
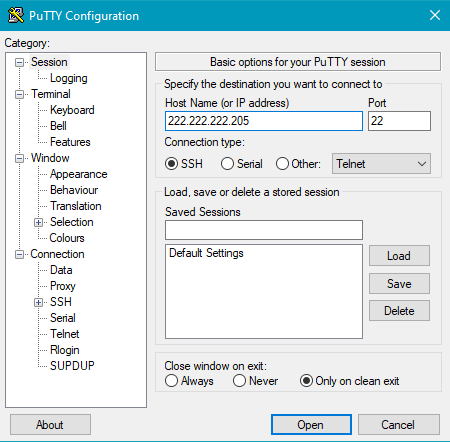
buka aplikasi putty yang sudah didownload, masukkan IP VMnya pada host name dan port 22 (SSH)

unzip 5.3.11.zip -d ./upgrade > /dev/null 2>&1

chmod 755 -R upgrade
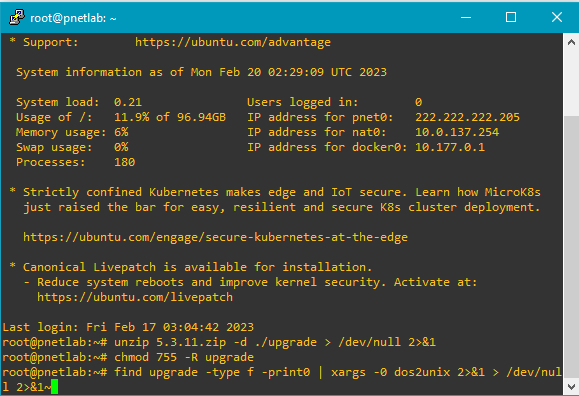
find upgrade -type f -print0 | xargs -0 dos2unix 2>&1 > /dev/null 2>&1
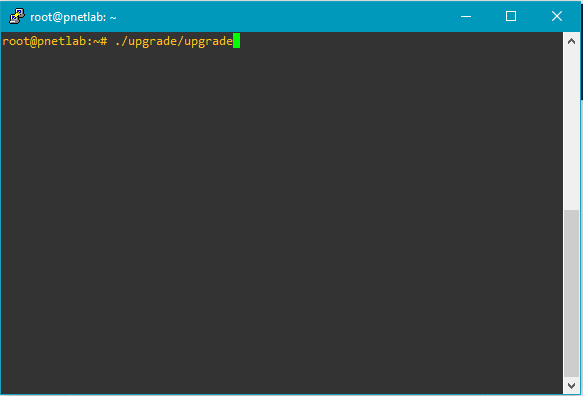
./upgrade/upgrade
setelah upgrade selesai, lakukan reboot VM
reboot